Introduction
Leather boots are more than just footwear. They are an investment in durability, comfort, and timeless style. Whether you wear them for work, outdoor adventures, riding, hiking, or everyday fashion, quality leather boots can last for many years when cared for properly. Unlike synthetic materials that often deteriorate quickly, genuine leather develops character over time, creating a rich patina that enhances its appearance and uniqueness.
However, leather is a natural material that requires regular maintenance to remain strong and attractive. Dirt, moisture, sunlight, and everyday wear can gradually dry out the leather, leading to cracks, fading, stiffness, and premature aging. Fortunately, treating leather boots is neither difficult nor time-consuming. With the right products and a consistent care routine, you can keep your boots looking excellent while extending their lifespan significantly.
This comprehensive guide explains everything you need to know about cleaning, conditioning, polishing, waterproofing, and storing leather boots to ensure they remain comfortable, durable, and stylish for years to come.
Why Proper Leather Boot Care Matters
Many people assume that leather boots are tough enough to withstand any condition without maintenance. While leather is remarkably durable, neglect can eventually cause damage that may be difficult or impossible to reverse.
Regular leather care helps preserve the natural oils that keep the material flexible and resistant to cracking. As boots are exposed to dirt, rain, mud, road salt, and fluctuating temperatures, these oils gradually diminish. Without replacement through conditioning, leather becomes dry and brittle.
Proper maintenance also helps preserve the appearance of your boots. Regular cleaning prevents dirt and grime from becoming embedded in the leather surface, while conditioning restores richness and color. Polishing further enhances the finish and creates a professional appearance.
Related Posts:


Another important benefit is comfort. Well-maintained leather remains soft and flexible, allowing the boots to conform naturally to the shape of your feet. Neglected leather often becomes stiff, resulting in discomfort and reduced mobility.
Finally, regular care saves money in the long run. A few minutes spent cleaning and conditioning your boots can prevent costly repairs and significantly delay the need for replacement.
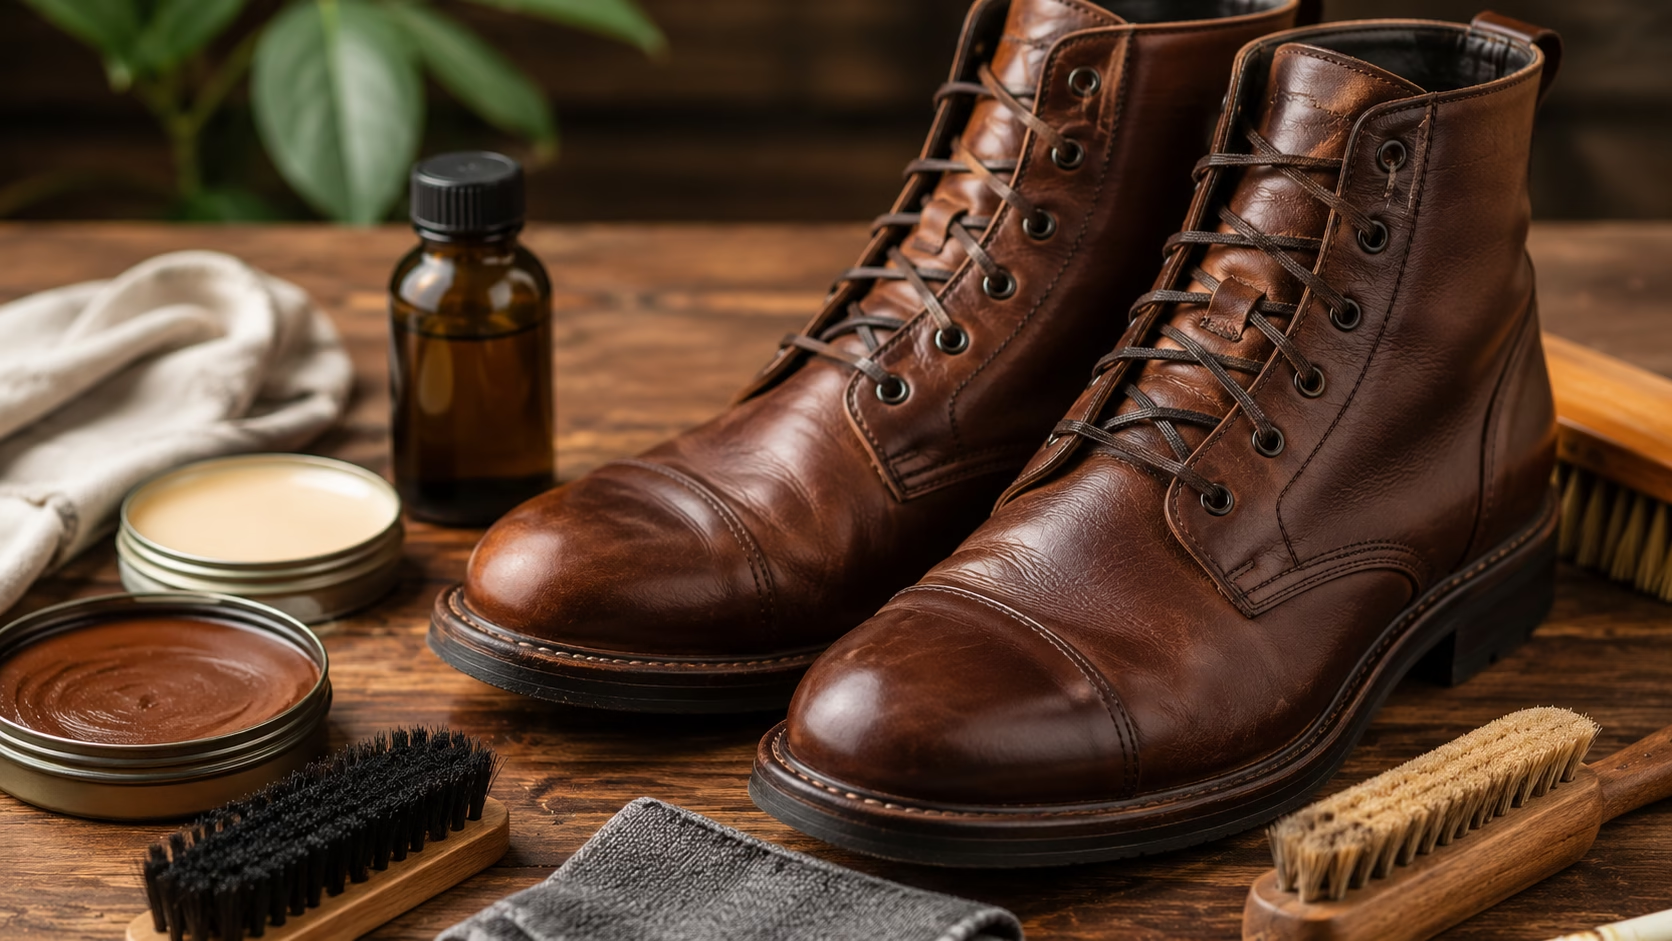
Essential Supplies for Treating Leather Boots
Before beginning the treatment process, it is important to gather the appropriate tools and products. Using high-quality supplies helps ensure the best results while minimizing the risk of damaging the leather.
A soft-bristled brush or horsehair brush is essential for removing loose dirt, dust, and debris from the surface of the boots. Horsehair brushes are particularly popular because they are gentle on leather while effectively lifting dirt.
Microfiber cloths or soft cotton cloths are useful for cleaning, applying conditioners, and buffing the leather after treatment.
A pH-balanced leather cleaner is recommended for deep cleaning. Unlike household soaps or detergents, leather cleaners are specifically formulated to remove dirt without stripping away natural oils.
A quality leather conditioner or leather oil is necessary to replenish moisture lost through everyday wear. Popular options include lanolin-based conditioners, mink oil, neatsfoot oil, and commercially formulated leather creams.
Leather cream or wax polish helps restore color, conceal minor scuffs, and provide a protective finish.
For additional protection against water and stains, waterproofing sprays, beeswax treatments, or leather protectants can be applied after conditioning.
Finally, cedar shoe trees or rolled newspapers help maintain the shape of the boots and absorb moisture during drying and storage.
Step 1: Remove Surface Dirt and Debris
The first stage of leather boot treatment involves removing all surface dirt and debris.
Begin by removing the boot laces. This allows access to areas around the tongue and eyelets that are often overlooked during cleaning.
Using a soft brush, gently remove dirt, mud, dust, and grit from the entire surface of the boot. Pay special attention to seams, welts, and creases where debris tends to accumulate.
If mud is heavily caked onto the boots, allow it to dry completely before brushing it away. Attempting to clean wet mud often pushes dirt deeper into the leather pores.
Removing loose debris before washing prevents scratches that can occur when dirt particles are rubbed against the leather surface during cleaning.
Step 2: Deep Clean the Leather
Once the surface dirt has been removed, the boots can be cleaned more thoroughly.
Lightly dampen a microfiber cloth with warm water. The cloth should be moist rather than soaked. Excessive water can damage leather and should be avoided.
Apply a small amount of leather cleaner to the cloth and gently work it into the leather using circular motions. Focus on areas that show visible stains, scuffs, or discoloration.
Continue cleaning the entire boot evenly to prevent patchy results. As dirt transfers to the cloth, switch to a clean section or use a fresh cloth.
After cleaning, wipe away any remaining cleaner with another damp cloth.
Avoid using harsh chemicals such as bleach, ammonia, or household detergents. These products can strip natural oils and permanently damage leather.
Step 3: Dry the Boots Correctly
Proper drying is one of the most important aspects of leather care.
After cleaning, insert cedar shoe trees or loosely rolled newspaper into the boots. This helps maintain their shape while absorbing excess moisture from the interior.
Allow the boots to air dry naturally at room temperature. Place them in a well-ventilated area away from direct sunlight or heat sources.
Avoid placing leather boots near radiators, fireplaces, heaters, or using hair dryers to speed up the process. Excessive heat causes leather fibers to shrink, dry out, and crack.
Depending on humidity levels and how wet the boots became during cleaning, drying may take several hours or overnight.
Patience during this stage helps preserve the integrity of the leather.
Step 4: Condition the Leather
Cleaning removes dirt, but it also removes some of the natural oils that keep leather healthy. Conditioning restores those oils and helps maintain flexibility.
Choose a leather conditioner appropriate for your boot type. Cream-based conditioners are generally suitable for most smooth leathers, while oils may be preferred for rugged work boots.
Before applying conditioner to the entire boot, test a small amount in an inconspicuous area. Some conditioners may slightly darken the leather.
Using a clean cloth, apply a thin layer of conditioner in gentle circular motions. Work the product evenly across the entire boot, paying extra attention to flex points where cracking is most likely to occur.
Allow the conditioner to absorb into the leather for approximately 10 to 20 minutes. Some products may require longer absorption times according to manufacturer instructions.
After absorption, use a clean cloth to buff away any excess conditioner.
Conditioning should typically be performed every three to six months. Boots exposed to harsh weather, heavy use, or frequent moisture may require more frequent treatment.
Step 5: Polish for Appearance and Protection
Polishing helps restore color, improve appearance, and provide an additional protective layer.
Select a polish that matches the color of your boots. If you are unsure, neutral polish is generally a safe option.
Apply a thin layer of polish using a soft cloth or applicator brush. Work the polish into the leather evenly, paying attention to scuffed or faded areas.
Allow the polish to dry for several minutes before buffing the surface with a horsehair brush or microfiber cloth.
Buffing generates a natural shine and helps distribute the polish evenly.
For formal or dress boots, multiple thin layers of polish can be applied to achieve a higher shine.
Step 6: Waterproof and Protect
Even high-quality leather benefits from additional protection against moisture.
Waterproofing products create a barrier that helps repel rain, snow, mud, and stains.
Spray-on waterproofing products are easy to apply and work well for most leather boots. Hold the spray several inches from the surface and apply an even coating.
Alternatively, beeswax-based products provide excellent water resistance while nourishing the leather.
After applying a waterproofing treatment, allow sufficient drying time before wearing the boots.
Reapply waterproof protection every few months, especially during rainy seasons or winter weather.
Proper Storage for Leather Boots
How you store your boots can significantly affect their longevity.
Store boots in a cool, dry environment away from direct sunlight. Prolonged exposure to sunlight can fade color and dry out leather.
Use cedar shoe trees whenever possible. Cedar helps maintain shape, absorb moisture, and reduce odors.
Avoid storing boots in plastic containers or bags. Leather needs airflow, and trapped moisture can encourage mold growth.
Instead, use breathable fabric bags or store boots in their original boxes with adequate ventilation.
If storing boots for an extended period, clean and condition them beforehand to prevent drying and deterioration.
Dealing with Common Leather Boot Problems
Salt Stains
Winter road salt can leave unsightly white marks on leather.
Mix equal parts white vinegar and water and gently wipe the affected area. After the stain is removed, allow the leather to dry and then apply conditioner to restore moisture.
Deep Scuffs
Minor scuffs can often be hidden using a matching leather cream or polish.
For deeper damage, specialized leather repair products may be necessary to restore appearance.
Mud and Dirt
Allow mud to dry before removal. Brushing away dry mud reduces the risk of grinding abrasive particles into the leather.
Water Damage
If boots become soaked, stuff them with newspaper and allow them to dry naturally. Once dry, apply conditioner to replenish lost oils.
Creating a Long-Term Maintenance Routine
The best way to preserve leather boots is through consistent maintenance rather than occasional intensive treatment.
A simple routine might include:
Daily: Wipe away dust and dirt.
Weekly: Brush the boots and inspect for stains or damage.
Monthly: Perform a more thorough cleaning if necessary.
Every three to six months: Deep clean, condition, polish, and waterproof.
This schedule can be adjusted based on climate, frequency of wear, and working conditions.
Conclusion
Treating leather boots properly is one of the most effective ways to protect your investment and extend the life of your footwear. Regular cleaning removes damaging dirt and debris, conditioning restores essential oils, polishing enhances appearance, and waterproofing shields the leather from moisture and stains.
With a consistent care routine, quality leather boots can remain comfortable, attractive, and durable for many years. Rather than replacing worn-out footwear every few seasons, a little maintenance allows your boots to age gracefully and develop the rich character that only genuine leather can achieve.
Whether your boots accompany you on job sites, hiking trails, city streets, or special occasions, treating them properly ensures they remain reliable companions for every step of the journey.
Disclaimer
This article is for educational purposes only and does not replace professional medical advice, diagnosis, or treatment. Seizures, severe headache, confusion, visual changes, or blood pressure readings in the hypertensive crisis range require urgent medical evaluation.