How to Heat Treat Flour: A Step-by-Step Guide for Safe Baking
Introduction
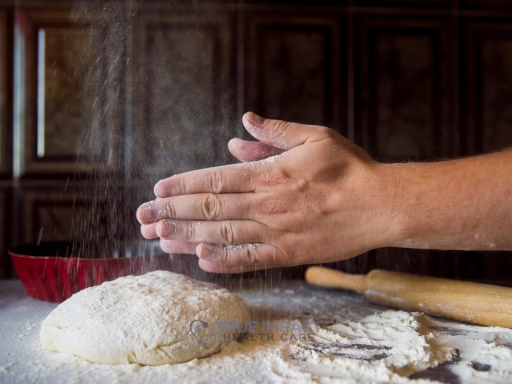
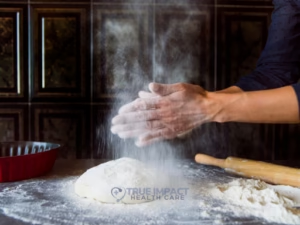
Whether you’re whipping up no-bake cookie dough, homemade playdough, or artisanal pastries, flour is at the heart of countless recipes. But did you know that raw flour can harbor harmful bacteria like E. coli or Salmonella? While these microbes are typically killed off during baking, any recipe that uses under-cooked or no-bake flour poses a potential risk. That’s where heat treating flour comes in—a simple, at-home process that makes your flour safe for all sorts of culinary and craft creations. In this post, we’ll explore why you should heat treat flour, break down three easy methods, and share tips to ensure perfect results every time.
Understanding the Risks: Why Heat Treat Flour?
• Pathogen concerns: Raw flour sometimes carries bacteria that survive in dry environments.
• Recent recalls: In the last decade, multiple flour brands have been recalled due to E. coli outbreaks.
• No-bake recipes: Edible cookie dough, energy balls, and even certain frostings often call for uncooked flour.
By heat treating your flour, you neutralize any lurking microbes without sacrificing quality, flavor, or performance in your baked goods.
How Heat Treating Works
At its core, heat treating involves applying enough heat to raise the internal temperature of flour to at least 160°F (71°C)—the temperature at which most foodborne bacteria perish, while maintaining its functional properties.
Three Simple Methods to Heat Treat Flour
A. Oven Method
- Preheat your oven to 300°F (150°C).
- Spread 1–2 cups of flour in an even layer on a rimmed baking sheet.
- Bake for 5–10 minutes, stirring halfway through to ensure even heating.
- Use a food thermometer to confirm the flour’s internal temperature reaches 160°F.
- Let it cool completely before storing or using.
Pros:
– Treats large batches at once
– Even heat distribution
Cons:
– Longer overall time due to preheating and cooling
Related Posts:


B. Skillet or Stovetop Method
- Place a clean, dry skillet or frying pan on medium-low heat.
- Add a thin layer of flour—no more than ¼ inch thick.
- Stir constantly for 5–7 minutes.
- Use a food thermometer inserted into the flour to check for 160°F.
- Transfer the warmed flour to a cool bowl to prevent further cooking.
Pros:
– Quick heat-up time
– No oven required
Cons:
– Requires constant attention to avoid hotspots or scorching
C. Microwave Method
- Place ½–1 cup of flour in a microwave-safe bowl.
- Cover loosely with a microwave-safe plate or microwave vent lid.
- Microwave on high for 30 seconds, stir, then microwave in 15-second intervals.
- After each interval, check the temperature; stop once it’s at or above 160°F.
- Spread the flour on a plate to cool quickly.
Pros:
– Fastest option
– Ideal for very small batches
Cons:
– Uneven heating if not stirred frequently
Tips for Best Results
• Use a digital food thermometer: Accurate reading ensures safety without over-cooking.
• Work in small batches: Easier to heat and cool evenly.
• Store in airtight containers: Keeps your heat-treated flour free from moisture and pests.
• Label your flour: Note the date it was treated to track freshness (treated flour stays good for up to 6 months when stored properly).
Common FAQs
Q: Will heat treating change the taste or texture of my baked goods?
A: No. When done correctly, treated flour behaves just like untreated flour in recipes.
Q: Can I treat whole-grain or gluten-free flours the same way?
A: Yes. The same temperature guidelines apply. Just adjust times if you’re heating a denser flour like whole wheat.
Q: What if my flour doesn’t reach 160°F?
A: Continue heating in short increments, stirring frequently, until you hit the target temperature.
Conclusion
Heat treating flour is a simple, cost-effective way to protect your family (and guests!) from potential foodborne illness, especially when using raw or under-baked flour in no-bake recipes. Whether you choose the oven, stovetop, or microwave method, following these guidelines ensures safe, reliable results without compromising the flavor or performance of your flour. So the next time you crave edible cookie dough or a special baking project, treat your flour first and bake with confidence!